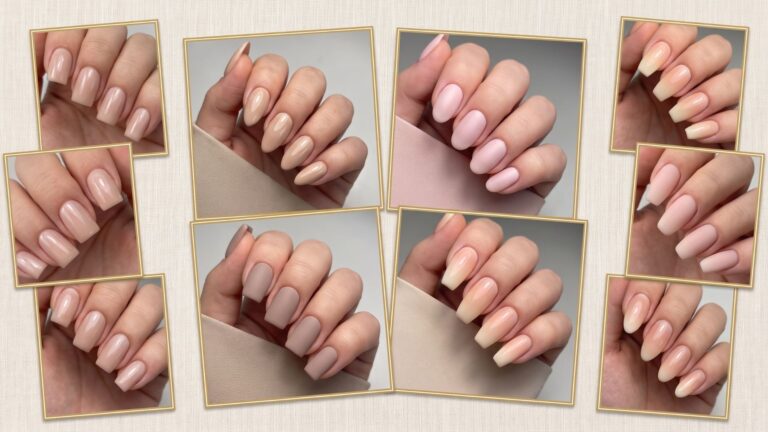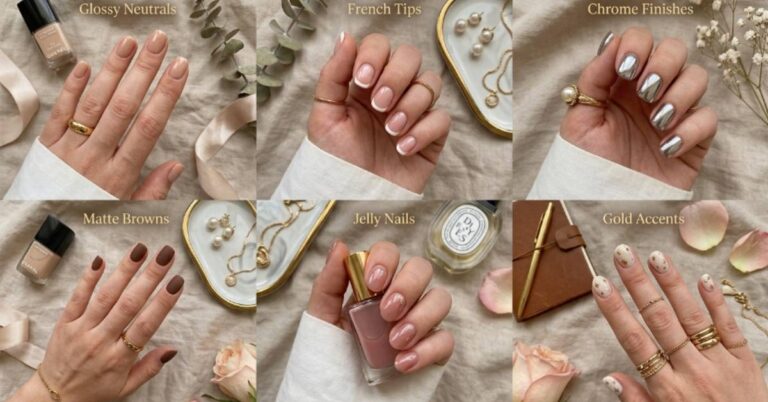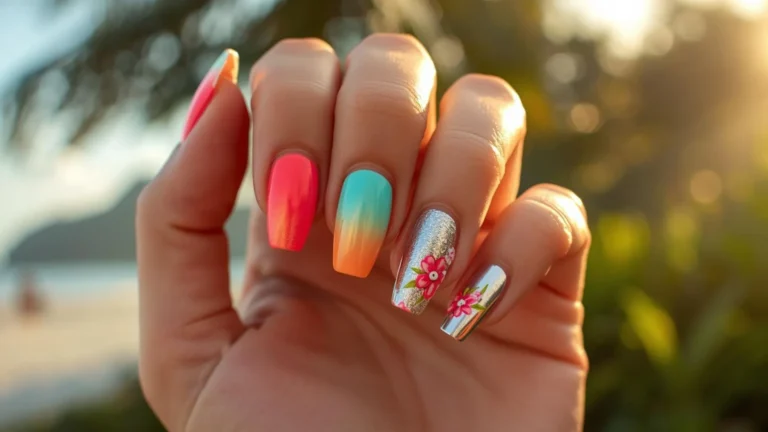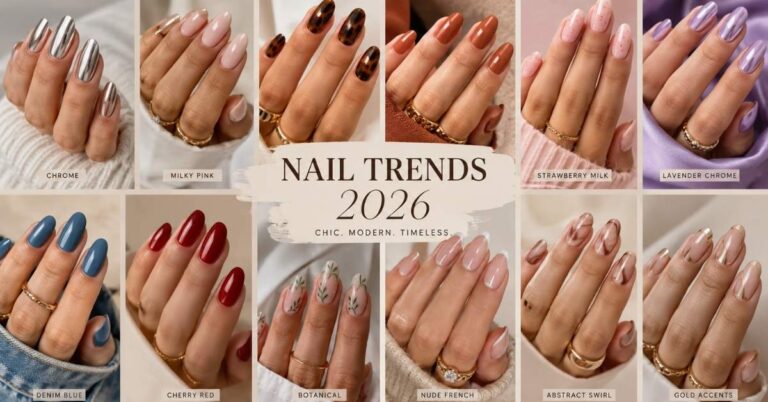
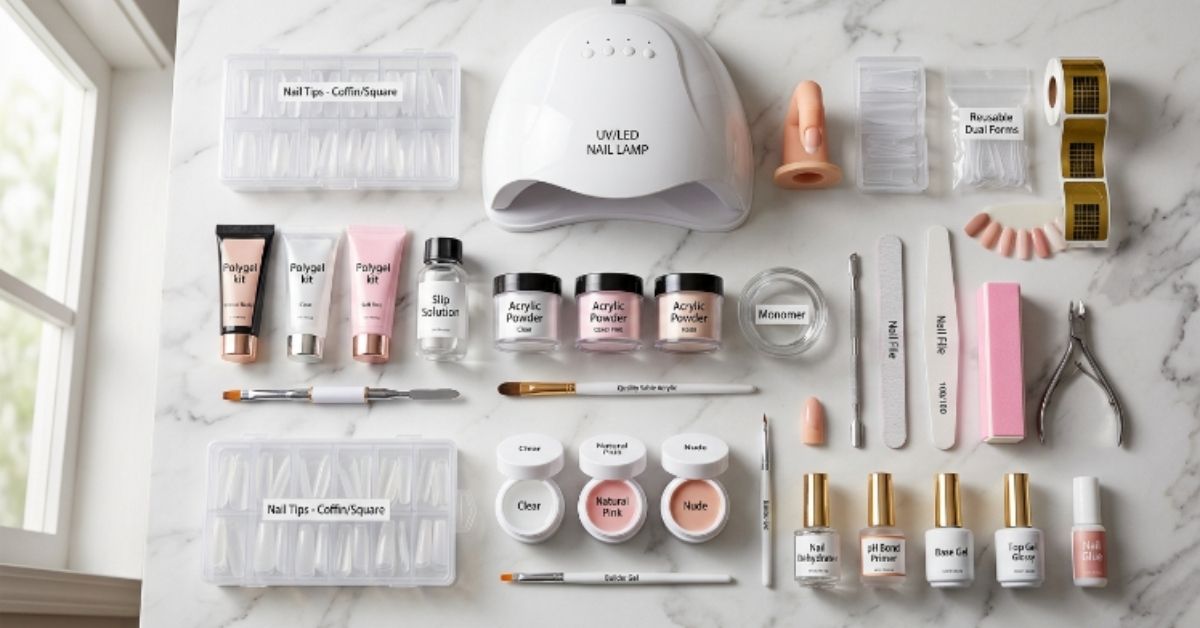
12 Best Nail Extension Kits for Beginners That Actually Deliver Salon-Level Results
You know that moment when you spend twenty minutes watching a nail extension tutorial, convince yourself it looks totally doable, order a kit online and then open the box to find seventeen confusing pieces and zero clear instructions? Yeah. That’s the moment I started Styvixa.
If your mornings are rushed and your free time is limited, the last thing you need is a kit that fights back. The best nail extension kits for beginners are the ones that strip out the guesswork: pre-shaped tips, clear step-by-step guidance, and formulas that give you room to breathe while you figure things out. Whether you’re doing this for the first time or you’ve tried before and quietly abandoned the kit in a drawer, this list is built for you.
These 12 picks cover every skill level within the “beginner” range from total first-timers who’ve never touched nail glue, to people who’ve dabbled a little and want something that actually cooperates. Your nails will look intentional by the end of it.
Beginner-Friendly Nail Extension Kits Worth Trying Before You Invest in Professional Supplies
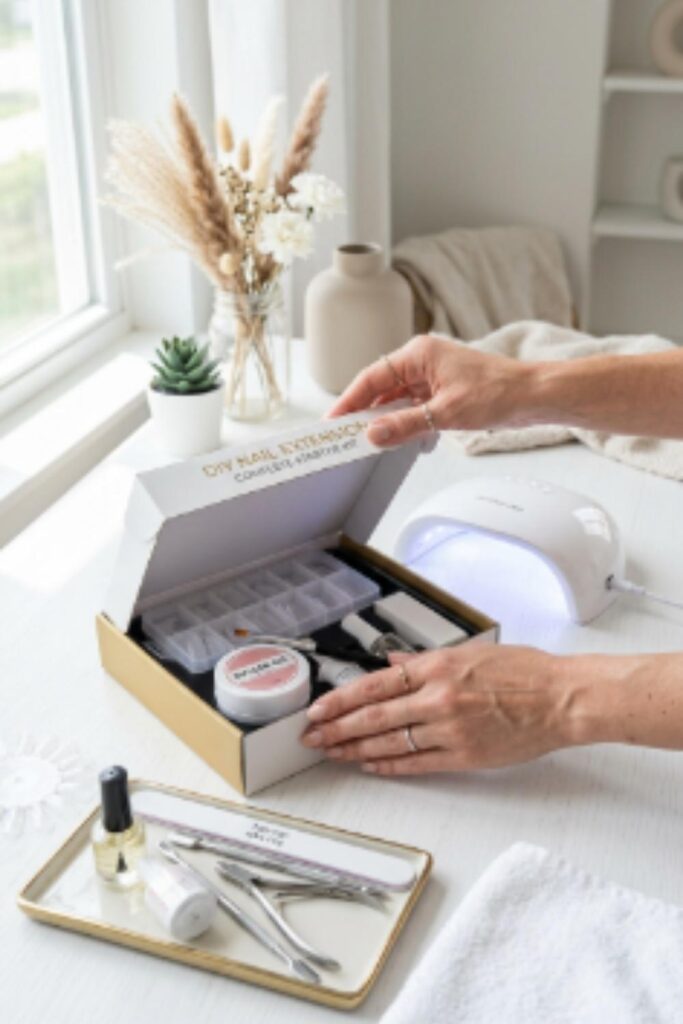
Image Attribution: Unless otherwise stated, all images featured in this article are original creations from our official Instagram account @bella_elaris and are used with permission.
Choosing your first nail extension kit isn’t about finding the most expensive option, it’s about finding one that matches your experience level, nail goals, and the amount of time you’re willing to spend learning.
Some beginner kits focus on quick, salon-quality results with pre-shaped tips, while others help you build long-term skills using builder gel, polygel, or acrylic systems. The best nail extension kits for beginners also include practical features like clear instructions, reliable nail prep products, and easy-to-use application tools that reduce common mistakes.
The curated options below highlight beginner-friendly nail extension kits for different nail types, budgets, and skill levels, making it easier to choose a system that delivers beautiful, long-lasting results without the frustration of trial and error.
Soft Gel Press-On Extension Kit with Pre-Filed Tips
This is the one I’d recommend trying first, because it removes almost every variable that trips beginners up. Soft gel press-on kits come with tips that are already shaped, sized, and sometimes even buffed so your job is essentially just application and finishing.
The soft gel formula flexes slightly with your natural nail, which makes lifting far less likely in those early weeks when your prep technique is still developing. In my experience, this works best when you spend an extra 30 seconds dehydrating each nail before you start, it’s the step most people skip, and it’s the reason extensions pop off early. The end result looks clean, natural-length, and genuinely polished without a single nail drill in sight.
Builder Gel Kit with Dual-Ended Brush and UV Lamp
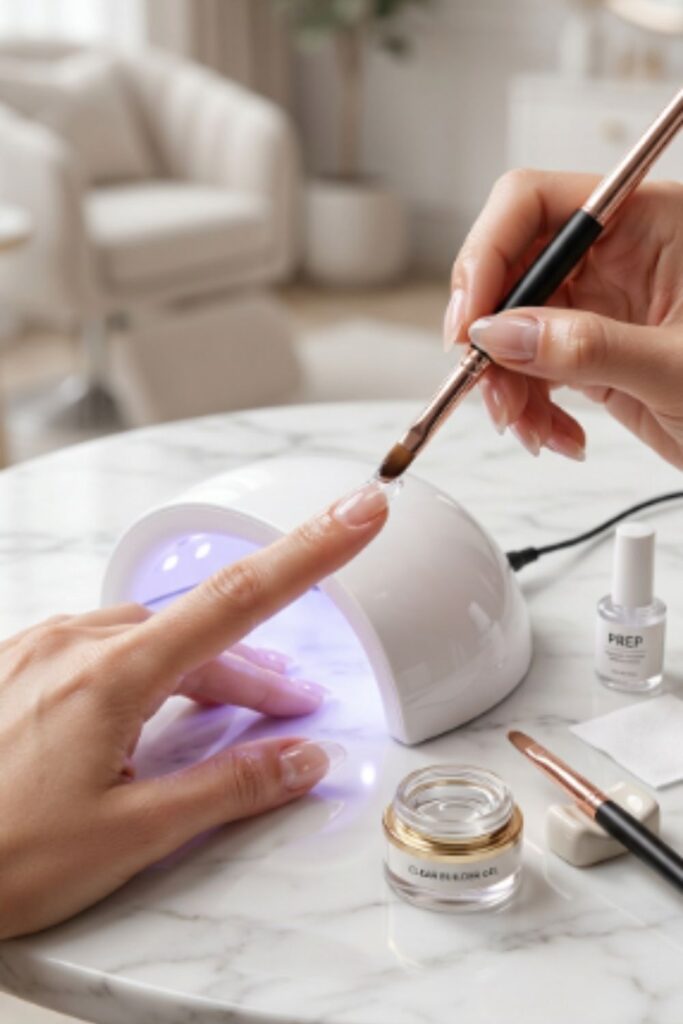
Builder gel has quietly become the go-to for beginners who want real longevity without committing to acrylic powder. A dual-ended brush, one side for application, one side for smoothing makes the learning curve significantly shorter, because you’re not hunting for a separate tool mid-application.
The self-leveling formula means small mistakes correct themselves as the product settles before curing. What most people don’t realize is that builder gel can actually strengthen nails with short or brittle tips better than hard gel can, because it bonds as a reinforcing layer rather than just sitting on top. For anyone who keeps their nails short due to breakage, this is worth knowing.
See Also : 18+ Cozy Winter Long Nail Ideas That Make Cold Months Feel Like the Best Season
Polygel Starter Set with Dual Forms and Slip Solution
If you want something low-effort but put-together, polygel is genuinely it. It sits somewhere between acrylic and hard gel putty-like in texture, which means you can pick it up, place it, reshape it, and take your time before you ever touch the lamp.
The dual forms included in most starter sets act like a mold, so your extension shape is guided rather than hand-sculpted. No fumes, no powder flying everywhere, and none of the time pressure that comes with traditional acrylics.
Honestly, the first time I used polygel I kept expecting something to go wrong and it just didn’t. It’s forgiving in a way that feels almost designed for people learning.
Acrylic Nail Extension Kit with Color-Coded Ratios
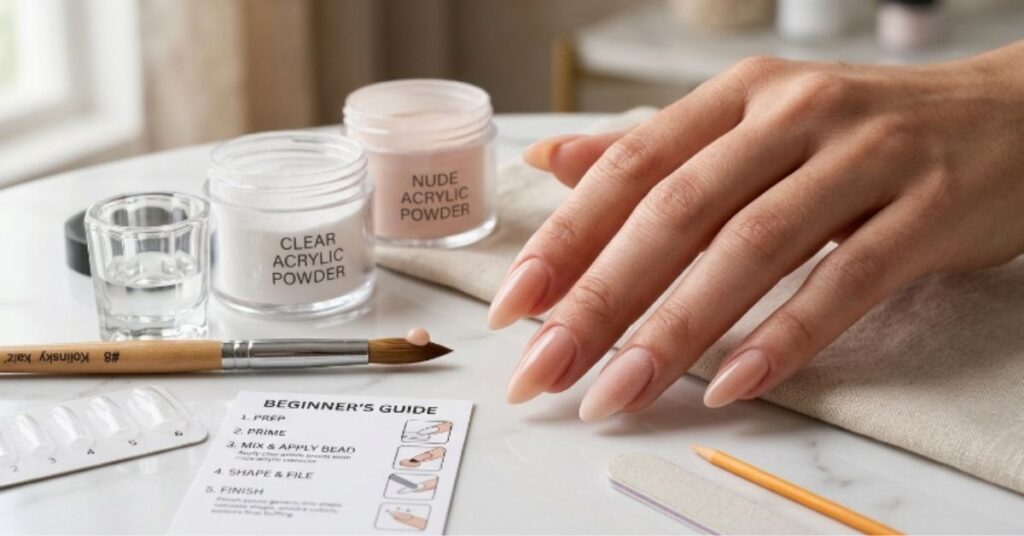
Acrylic gets a reputation for being hard, and it is harder but not impossible for beginners if the kit is designed well.
The kits worth buying come with color-coded monomer and polymer guides that show you the correct liquid-to-powder ratio visually, so you’re not eyeballing something that genuinely matters.
Get the ratio wrong and the product is either too wet (weak, flexible, lifts fast) or too dry (brittle, won’t smooth, breaks).
This is the kind of detail a lot of entry-level kits don’t explain, which is why people assume they failed when actually the kit just didn’t teach them right.
If you want to learn the full technique rather than the shortcut version, start here but give yourself at least two practice sessions before you expect perfection.
See Also : 24+ Bright Summer Long Nails Designs That Make Your Hands Look Like a Whole Mood
Gel-X Style Full Cover Extension Kit with Structured Tips
What sets Gel-X style kits apart from standard press-ons is the structured tip, it has a slight natural curve built into the shape that mimics how a real nail grows.
That one detail makes applications look more realistic and last longer, because the fit contours to your actual nail bed rather than sitting flat over it.
These kits typically include a full-cover sizing guide and a gel adhesive that cures under UV, which is far more secure than traditional nail glue.
This is the exact moment to try structured gel tips if you’ve been hesitant, the format has never been more beginner-accessible, and the results are genuinely comparable to a nail tech’s work on a good day.
DIY Hard Gel Extension Kit with Natural Tips and Nail Files
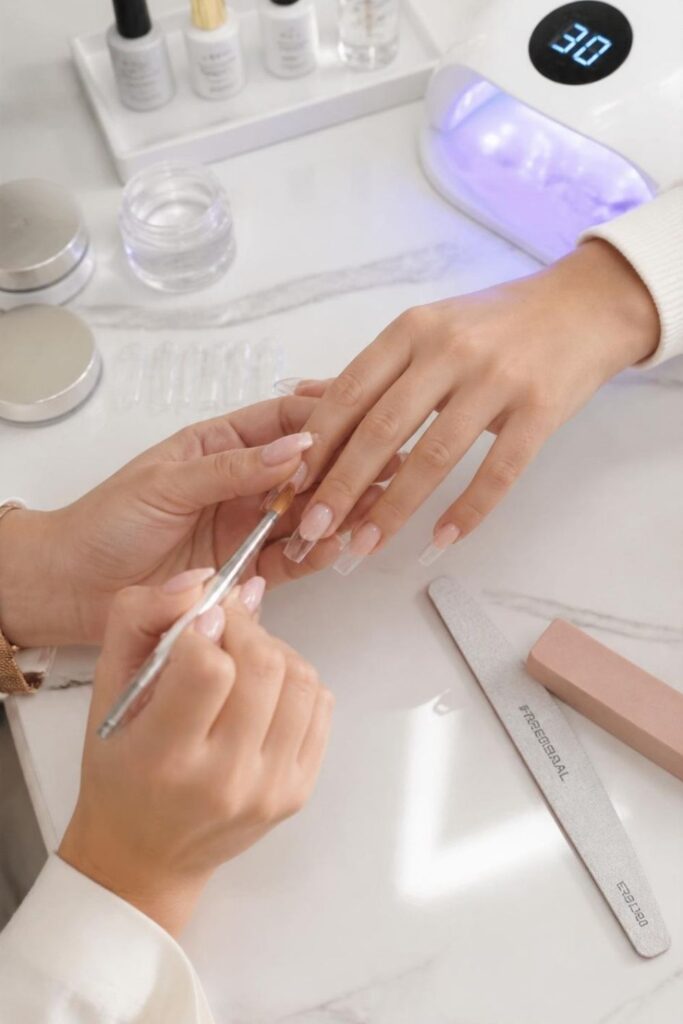
Hard gel extensions have a learning curve, but they produce one of the most durable finishes in the at-home nail world. The key advantage in a beginner-focused hard gel kit is pre-cut natural tips meaning your length is set for you before any product goes on, and you’re just building up structure on top.
Unlike soft gel, hard gel can’t be soaked off; it has to be filed, which sounds high-maintenance until you realize it also means the finish is incredibly scratch-resistant.
The kind of look that gets saved 50,000 times for a reason clean, glossy, tapered, with a finish that doesn’t chip on day three.
See Also : 50+ Beautiful Long Nail Designs You’ll Want to Copy This Spring (2026)
Flawless Finish Nail Kit with Almond-Shaped Pre-Cut Tips
Does the shape of the tip matter more than most beginner guides admit? Yes, actually. Pre-cut almond tips change everything about how a finished extension looks, the tapered sides make hands look longer and more elegant without adding length, which is useful if you want the salon aesthetic without the getting-your-hand-stuck-in-your-pocket problem.
This kit is built around that shape, with a gel adhesive that buffs flush and a selection of tip sizes wide enough to fit most nail beds without needing heavy filing.
You’ll probably find yourself reaching for this format more than expected, especially once you realize how well almond tips photograph.
Beginner-Friendly Acrylic Powder and Liquid Kit with Practice Wheel
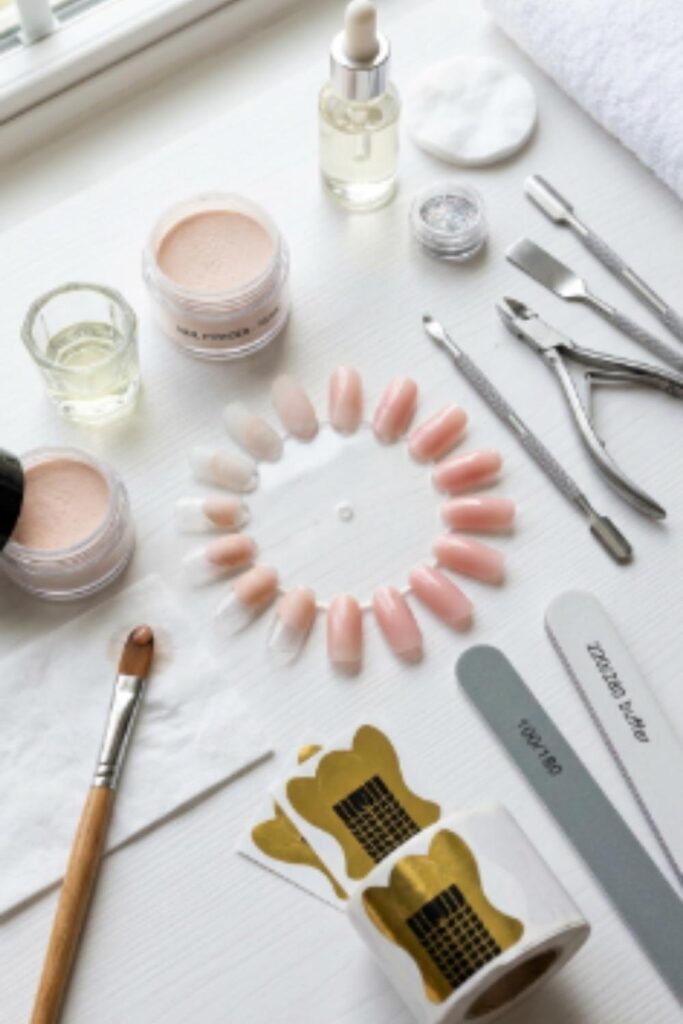
Here’s the thing about acrylic: the tactile part of picking up the bead, placing it, smoothing it is genuinely hard to learn from watching alone. That’s why kits that include a practice wheel (a small disc with ten nail-shaped sections you can work on without touching your actual nails) are worth the slightly higher price point.
You get the muscle memory before the stakes are real. The practice wheel approach also lets you test your ratio, your brush pressure, and your timing before committing, which makes a significant difference on your first full set. Easy to overlook, surprisingly transformative.
See Also : 80+ Short Nail Designs That Deserve a Spot on Your Summer Mood Board
Crystal Clear Builder Gel Kit with Nail Prep System
Most beginner kits skip the prep step entirely, which is exactly why most beginner nail extensions lift within a week. A kit that includes a complete nail prep system dehydrator, primer, and pH bonder treats the issue at its source.
Crystal clear builder gel is also a smart first gel choice because you can see exactly how much product you’ve applied and where air bubbles are hiding, which makes the technique easier to learn visually.
The transparency also means it works as an overlay base for any nail art you want to add on top, versatile in a way that a colored or milky formula isn’t.
Glam Press-On Extension Kit with Sizing Guide and Adhesive Tabs
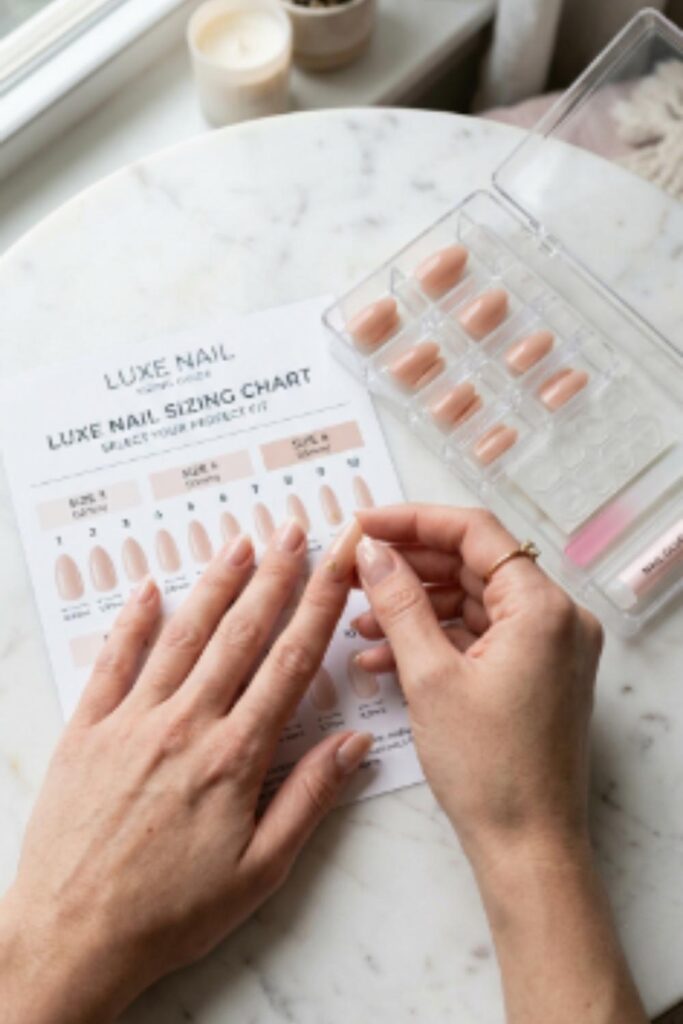
Not every nail extension kit needs UV light, a brush, or a ten-minute cure time and sometimes that’s exactly the point. Adhesive tab press-on kits have genuinely improved in recent years; the modern tab formulas hold significantly longer than older versions, with some lasting three to seven days with proper prep.
The difference is in the sizing: kits that include a printed sizing guide and let you dry-fit before committing give you a much better result than just eyeballing it from the packet.
This is a great starting point if you want to understand nail shaping and sizing before moving on to gel or acrylic think of it as the foundation round.
See Also : 25 Long Nails Aesthetic Ideas That Will Instantly Elevate Your Look
All-In-One Gel Extension Kit with Dual Forms and Gel Polish Set
You’ll keep coming back to this format once you realize how much it covers. An all-in-one kit with dual forms, builder gel, and a small gel polish set means you’re not buying separate products as you go which is where a lot of beginner budgets quietly spiral.
The dual form approach creates the extension structure in one step, and adding a gel polish finish on top means your color and your shape cure together rather than layering two entirely separate systems. It’s efficient, it’s clean, and it produces a result that looks more intentional than most single-product beginner kits.
Fiberglass Nail Wrap Extension Kit for Thin or Peeling Nails
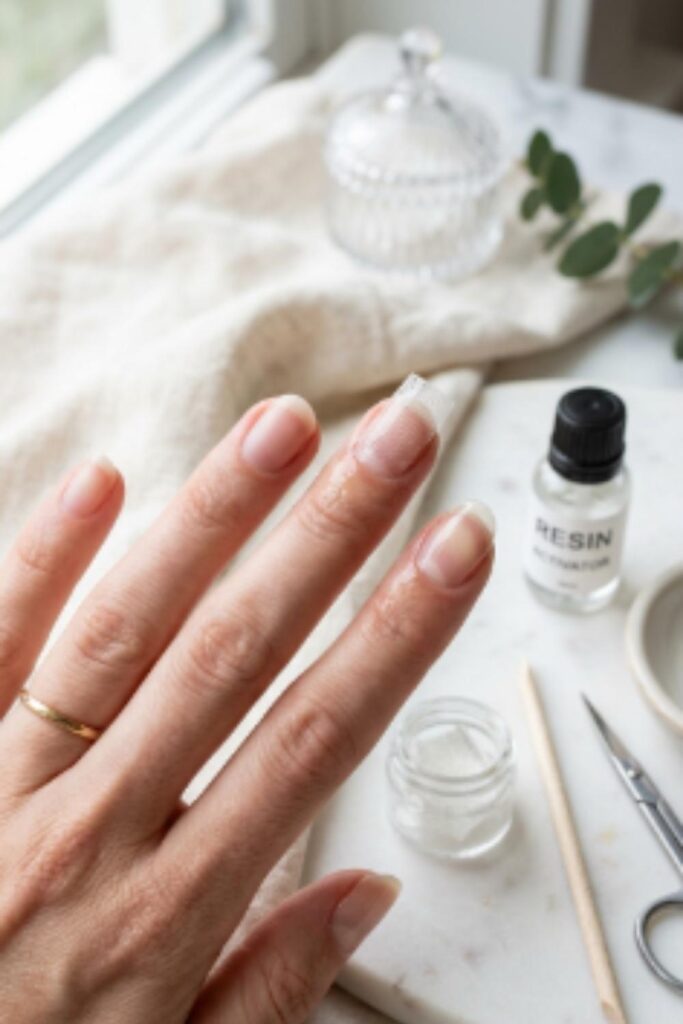
If your nails are genuinely thin, peeling, or prone to snapping at the free edge this is the one most guides won’t point you toward, but probably should.
Fiberglass wraps work by reinforcing the natural nail with a thin mesh layer before gel or resin is applied over the top, which builds structural integrity without adding heavy product.
The result is incredibly natural-looking closer to a strengthened version of your own nail than a traditional extension and the weight is so minimal most people forget they’re wearing anything.
It’s an underused technique in the beginner space, mostly because it doesn’t photograph as dramatically as a full sculpted look. But for day-to-day wearability, it’s hard to beat.
See Also : 10 Nail Care Habits for Short Nails That Actually Make a Difference
How to Choose the Right Nail Extension Kit for You
The most important question before buying any kit isn’t “which one is best” it’s “what am I actually willing to do?” If you have fifteen minutes and low patience for the process, a press-on or gel-x kit will deliver.
If you want a skill you’ll refine over time and results that last two-plus weeks without lifting, builder gel or polygel is where to go.
Acrylic is worth learning if you’re seriously interested in nail technique, but approach it as a longer-term project rather than a weekend experiment.
Your natural nail condition matters too. Dry, brittle, or peeling nails need a kit with a strong prep system included dehydrator and primer at minimum. Healthy nails can start with almost any formula and still get good results.
And if your nail beds run narrow or wide, check whether the kit includes at least ten tip sizes; kits with only five or six will leave you filing down oversized tips constantly, which is both tedious and unnecessary.
Quick Reference: Nail Extension Kits Comparison Guide
| Kit Type | Best For | Skill Requirement | Longevity | Key Advantage |
| Soft Gel Press-On | Total beginners | Very low | 1–2 weeks | No lamp needed for some versions |
| Builder Gel | Building skills, natural finish | Low–medium | 3–4 weeks | Self-levels; good for short nails |
| Polygel | Patient beginners wanting length | Low | 3–5 weeks | No time pressure before curing |
| Acrylic | Technique learners | Medium | 3–4 weeks | Durability; customizable shape |
| Gel-X Style | Realistic, natural look | Low | 2–3 weeks | Structured curve fits nail bed |
| Hard Gel | Durability seekers | Medium | 4–5 weeks | Scratch-resistant, chip-proof finish |
| Fiberglass Wrap | Thin/damaged nails | Low–medium | 2–3 weeks | Reinforces without heavy product |
| Press-On w/ Tabs | Beginners, temporary wear | Very low | 3–7 days | Zero learning curve, instant result |
Common Mistakes to Avoid with Nail Extension Kits
Skipping nail prep. This is the number one reason beginner extensions fail early. Dehydrating and priming the nail before applying any product removes oils and moisture that cause lifting most kits either under-explain this or bury it in small print.
Buying a kit without checking tip size range. A kit with only five tip sizes will not fit most natural nail beds cleanly. Look for twelve or more sizes, or kits that include a sizing reference.
Curing too quickly. Rushing the curing time with builder gel or hard gel results in a sticky, uncured underlayer even if the surface looks set. Follow the lamp’s wattage recommendation precisely, a 36W lamp and a 48W lamp have different cure times.
Applying product too close to the cuticle. Leave a clean gap of about 1mm. Products on skin lifts faster than almost anything else and can cause skin sensitivity with repeated exposure.
Expecting perfection on the first set. Every nail tech spent time making sets that weren’t great before making ones that were. Build in two or three learning rounds before judging whether a kit is actually working for you.
See Also : Want Expensive-Looking Nails on a Budget? Try These 13+ DIY Ideas for Short Nails
Key Takeaways
- Start with soft gel or polygel if you want the lowest possible learning curve both are forgiving, slow-setting, and require minimal equipment
- Nail prep (dehydrating and priming) determines longevity more than the product itself don’t skip it
- Fiberglass wraps are an underrated option for thin or peeling nails that most beginner guides overlook
- Kit tip size range matters; fewer than ten sizes will create fit problems for most nail shapes
- Acrylic is worth learning intentionally, not as a quick weekend project
- Polygel and builder gel produce the best balance of longevity and beginner-friendliness
FAQ’s
What is the easiest nail extension kit for absolute beginners?
Soft gel press-on kits and Gel-X style extension kits are generally the easiest starting points for beginners. They come with pre-shaped tips, require minimal shaping or sculpting skills, and use a simple gel adhesive that cures under UV light. Most beginner-friendly versions also include a step-by-step sizing and application guide, which removes most of the guesswork.
How long do beginner nail extension kits last?
Longevity depends on the kit type and prep quality. Press-on kits with adhesive tabs typically last three to seven days, while gel or polygel extensions applied with proper nail prep can last two to four weeks. Skipping the dehydration and priming step is the most common reason beginner extensions lift early, regardless of which kit is used.
Is polygel or acrylic better for beginners?
Polygel is generally better for beginners. It doesn’t harden until it’s placed under a UV lamp, which gives you time to adjust the shape without rushing. Acrylic begins setting on contact with air, so the margin for error is much smaller. Acrylic produces excellent results once the technique is learned, but it requires more practice sessions before the application feels natural.
Do I need a UV lamp for nail extension kits?
Most gel-based extension kits including builder gel, hard gel, and Gel-X style systems require a UV or LED lamp to cure the product. Press-on kits with adhesive tabs and some fiberglass wrap systems do not. If you’re buying your first kit and don’t own a lamp, check the product specifications before purchasing, as lamps are often sold separately.
What should a good beginner nail extension kit include?
A solid beginner kit should include a minimum of ten tip sizes, an application brush, a base and top coat or gel adhesive, a nail prep solution (dehydrator and/or primer), a UV lamp if the formula requires curing, and a file and buffer. Kits that also include a printed or digital instruction guide and a tip sizing chart are significantly easier to use than those that rely on the buyer to figure things out independently.
Can you use nail extension kits on short or damaged nails?
Yes, and some kit types are specifically designed for this. Builder gel and fiberglass wrap kits are both well-suited to short, thin, or peeling nails, they add structure and reinforcement rather than just length. Avoid hard press-on tips on very damaged nail beds, as the filing and removal process can cause additional stress to already compromised nails.
How do I remove nail extensions safely at home?
Soft gel, builder gel, and polygel extensions can be soaked off using acetone, wrap each nail in foil with a cotton pad soaked in pure acetone and wait fifteen to twenty minutes before gently pushing the product off with a cuticle pusher. Hard gel must be carefully filed rather than soaked. Ripping or peeling extensions off regardless of type causes nail damage; the soak-and-slide method is always worth the extra time.
Final Thoughts
Getting into nail extensions at home doesn’t have to mean a chaotic first attempt and a kit you never open again. The right starting kit one matched to your actual skill level, nail condition, and patience for process makes the difference between a frustrating afternoon and a result you actually want to show people.
Start simple, follow the prep steps even when they feel unnecessary, and give yourself the grace of a learning curve. Every beginner nail extension kit on this list was chosen because it removes unnecessary barriers between you and a good result. The rest is just practice. Save the one that speaks to your style, try it, and come back when you’re ready to go longer.
Unless otherwise noted, all images in this article are original content created and owned by @bella_elaris. Please do not reproduce, republish, or distribute these images without prior permission.