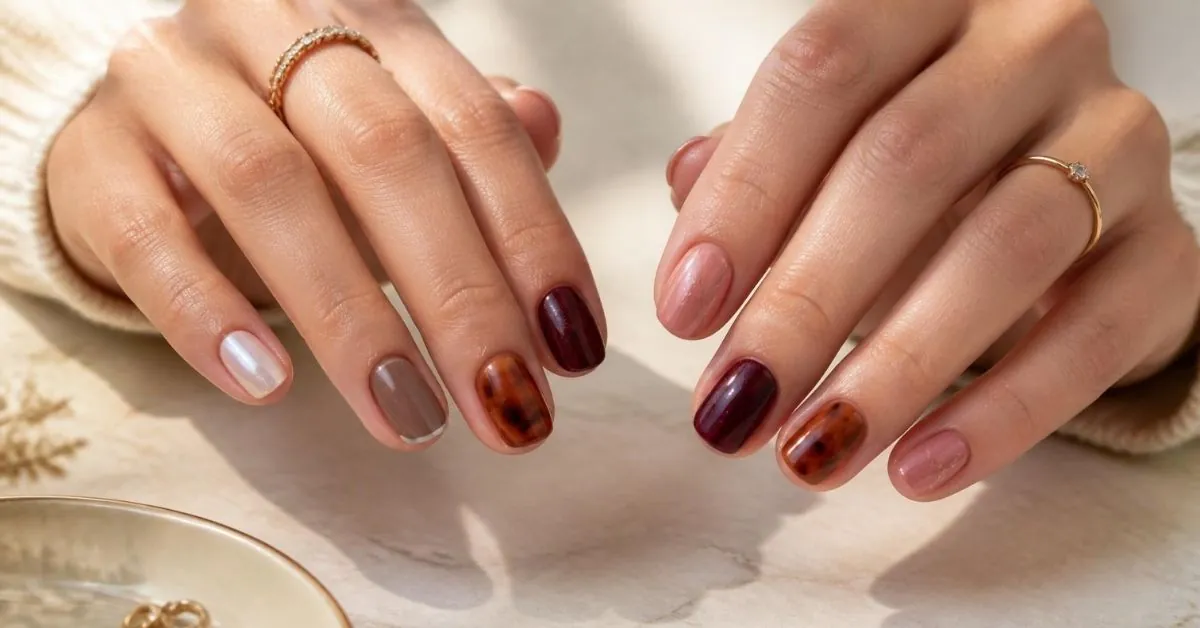
Want Expensive-Looking Nails on a Budget? Try These 13+ DIY Ideas for Short Nails
Short nails are having a serious moment in 2026 and honestly, it’s about time. The days of feeling like you need length to pull off a standout manicure are over. Some of the most viral nail looks circling Pinterest right now are built on short, clean canvases, and they look intentional, polished, and anything but basic. If your style leans minimal or your mornings are too rushed for anything fussy, this list is exactly for you.
The real trick with short nails isn’t fighting your natural shape, it’s working with it. Short nails have a naturally neat, modern silhouette that makes clean negative space, bold color, and delicate nail art pop in a way that longer nails sometimes can’t. You don’t need a nail tech, a UV lamp, or a cart full of supplies. Most of these DIY nail ideas for short nails need just three things: a steady hand, the right color palette, and the right inspo to get started.
Ahead, you’ll find 13+ ideas that are easy enough to actually recreate at home, stylish enough to save immediately, and varied enough that you’ll definitely find more than one to try.
13+ DIY Nail Ideas for Short Nails That Look More Expensive Than They Are
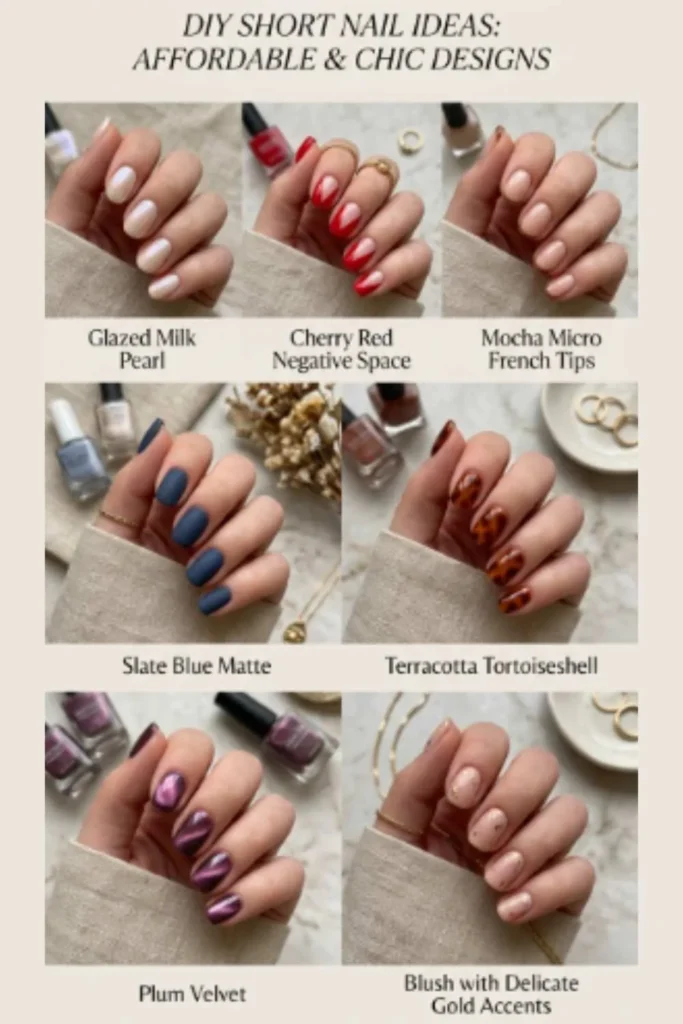
Image Attribution: Unless otherwise stated, all images featured in this article are original creations from our official Instagram account @bella_elaris and are used with permission.
The best DIY nail ideas for short nails don’t rely on complicated techniques or a drawer full of salon tools. What makes a manicure look expensive is usually much simpler: a well-chosen color palette, clean proportions, and one thoughtful detail that works with your natural nail shape.
The 13+ looks below use everything from sheer glazed finishes and micro French tips to negative space, chrome accents, and understated nail art to make short nails feel polished and intentional. Some take only a few minutes beyond a basic manicure, while others let you experiment with texture or detail without becoming overly difficult.
Whether you prefer barely-there neutrals, rich statement shades, or something more artistic, these ideas prove you can create a refined, salon-inspired manicure at home without the salon price tag.
Glazed Milk Nails with a Barely-There Pearl Finish
If you haven’t tried the glazed look on short nails, this is the first one to bookmark. The effect is a soft, milky white base with a thin pearl topcoat layered over it, the result is this dreamlike sheen that looks like your nails are lit from within. It’s delicate without being precious, and it works on every skin tone.
Apply two coats of a sheer milky white or vanilla creme polish, let it dry completely, then add a single layer of iridescent topcoat. The key is keeping the topcoat thin one coat is all you need. In my experience, this look stays polished even as it grows out because the color is so close to natural that the gap line barely shows. Practically zero maintenance, endlessly wearable.
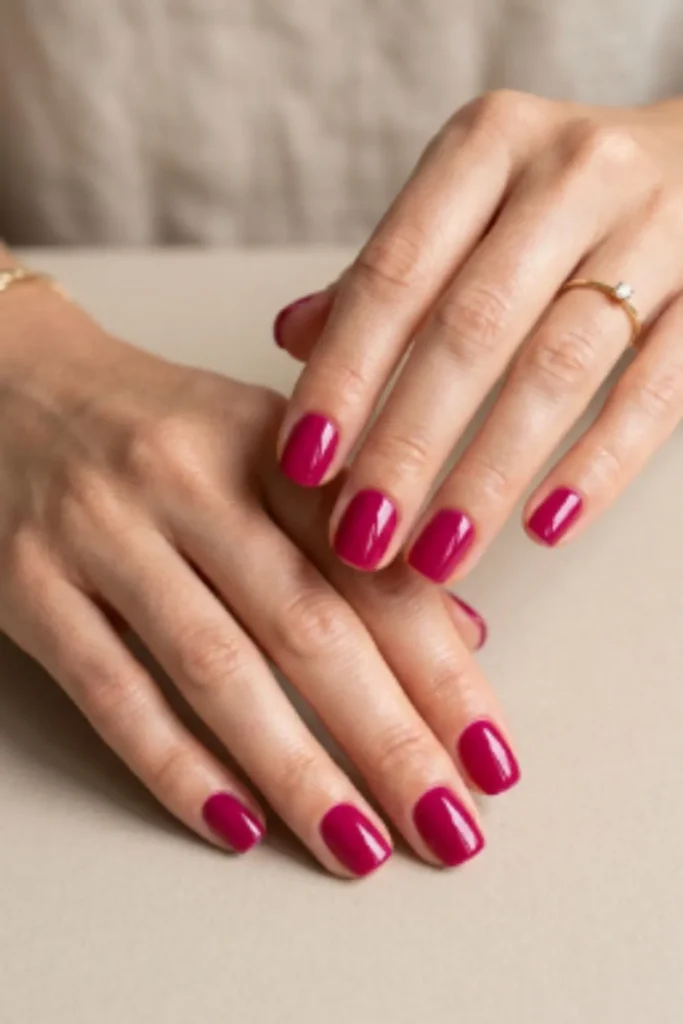
Negative Space Half-Moon in Deep Cherry Red
Stop overthinking red nails, this version makes them feel completely fresh. Instead of painting the whole nail, leave a clean crescent of bare nail at the base and fill the rest in a deep cherry red. That single exposed half-moon suddenly turns a standard color into actual nail art.
You can achieve the effect using a ring reinforcer sticker (the small paper circles from office supply stores) as a masking tool. Press it at the base of your nail, apply your red, let it dry, and peel. What you’re left with is that crisp, architectural curve that looks intentional and sharp. The cherry red reads bold but the negative space keeps it from being over the top a balance that always photographs well.
Soft Mocha with Thin White French Tips
The French tip has evolved, and this update to it is genuinely worth trying. Swap the traditional white french on a pale base for a warm mocha brown base with a thin, minimalist white tip. The color contrast is subtle earthy and sophisticated rather than stark and the slim tip line looks much more refined than a thick traditional french on short nails.
Use a fine liner brush dipped in white nail polish for the tip instead of french tip guides, which tend to produce a thicker line than you want here. A little patience and a one-stroke application for each nail is all it takes. This is the kind of nail that gets noticed in person people tend to stare for a second trying to figure out why it looks so good.
Read More About : 17+Short Cozy Fall Nails That Feel Like a Warm Drink in Your Hands
Matte Slate Blue with a Single Chrome Accent Nail
Here’s the thing about matte nails: they already look elevated without much effort. A dusty slate blue in matte finish is calm, editorial, and surprisingly hard to categorize, it reads cool-toned in some lights, almost gray in others. That ambiguity is part of the appeal.
Take one nail (usually the ring finger, but try the index if you want something less expected) and apply a chrome silver powder over a glossy gel-like topcoat. The contrast between the flat matte across four nails and that one metallic accent is striking in the best way.
Most people don’t realize you can create a serviceable chrome effect at home, a chrome powder from any nail supply shop pressed on with an eyeshadow applicator over a sticky topcoat works well without a UV lamp if you seal it properly.
Sheer Terracotta with Tortoiseshell Nail Art
Is there a more underrated color for short nails than terracotta? I’d argue no. It’s warm, lived-in, and genuinely flattering across a wide range of skin tones. Apply it as a sheer wash two thin coats so the nail shows through slightly, giving that translucent stained effect.
From there, add loose tortoiseshell detailing on one or two accent nails using amber, deep brown, and a touch of burnt orange. You’re not trying to recreate a perfect pattern, the beauty of tortoiseshell is that it looks better slightly imperfect. Dab the colors on with a tiny brush or even a crumpled piece of plastic wrap for organic, irregular patches. Seal with a glossy topcoat and the whole thing looks like it came from a nail bar.
Read More About : 11+ Bright Summer Short Nails That Actually Look Better Than Long Ones
Chocolate Brown Creme with Nude Tips
This one is for anyone who thinks a French manicure doesn’t work on darker polishes it does, and it’s actually more interesting this way. A rich chocolate brown creme as the base with thin, barely-there nude tips creates a reverse French effect that feels fall-ready all year round.
The trick is choosing a nude tip color that’s only two shades lighter than the base not white, not beige, but a warm nude that creates a whisper of contrast. Use a thin striping brush for precise lines.
It’s one of those looks that seems complicated but takes maybe ten extra minutes once you’re comfortable with the base color. You’ll probably find yourself reaching for this combination more than you expect.
Clean White with Minimalist Daisy Nail Art
White nails are a blank canvas that people wildly underfuse. A crisp, opaque white base on short nails already looks modern and clean but if you want to add a little personality without over-committing to a busy look, a single minimalist daisy on one nail is exactly enough.
Use a fine dotting tool to create five small yellow dots in a loose circle, then place a slightly larger white dot in the center (or swap to a small orange dot for a warmer feel). The daisy takes about 90 seconds per nail once you have the motion down, and the result is the kind of detail that earns compliments. IMO, one accent nail with this design is stronger than doing all five restraint is the whole point.
Deep Plum with Subtle Velvet Texture
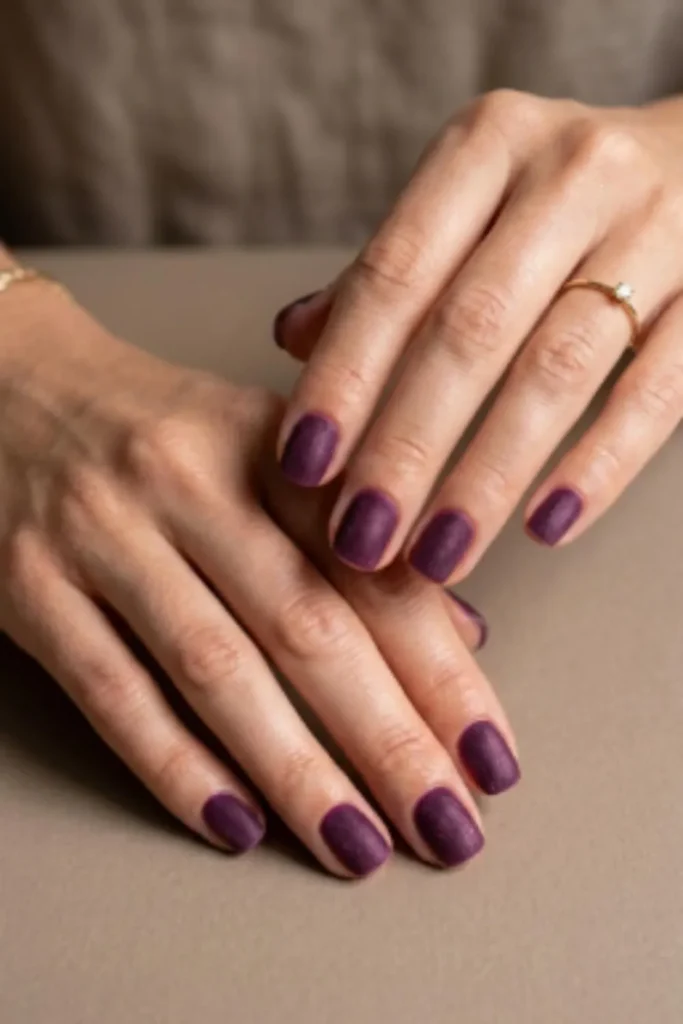
Most people think textured nails require special polish formulas but a velvet effect is easier to DIY than it looks. Start with a deep plum creme base (two coats), then while the last coat is still slightly tacky, lightly dust with fine loose eyeshadow or a velvety micro-glitter in a similar purple tone. Seal carefully with a matte topcoat.
The finished texture is soft, almost suede-like, and the depth of a plum base makes the subtle texture read as intentional richness rather than an accident. This is the exact moment to try velvet nails they’re creeping back from a few years ago with a much more refined, less theatrical finish than before. On short nails especially, the compactness of the shape makes the texture look dense and deliberate.
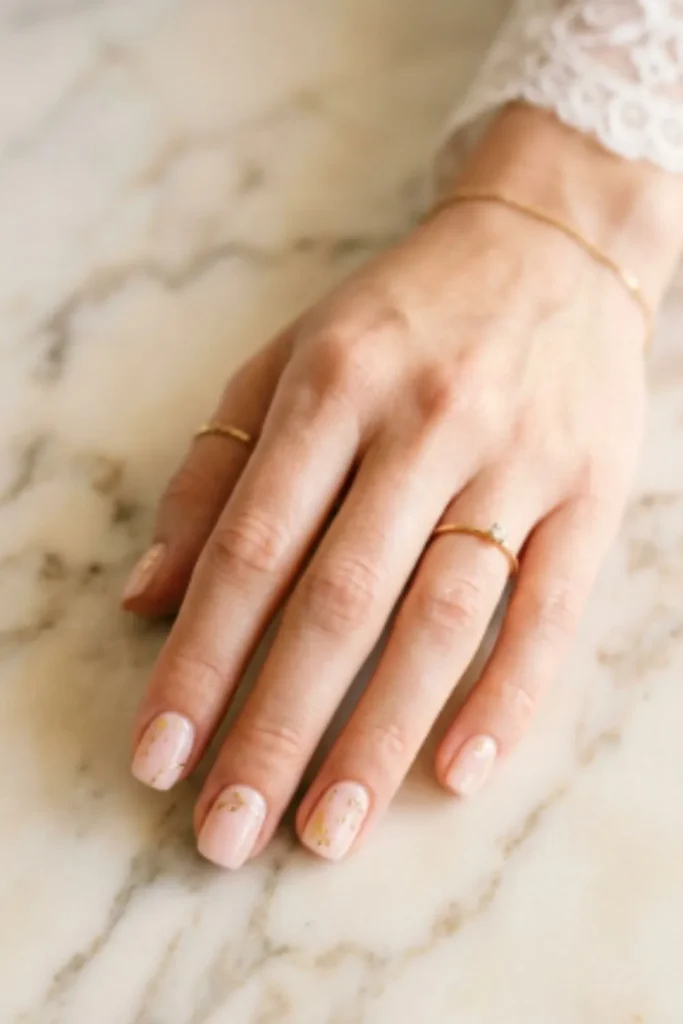
Barely-There Blush with Gold Foil Fragments
Blush nails are evergreen, but adding scattered gold foil elevates them from simple to quietly luxurious. The base should be a soft, warm blush not too pink, not too peachy, just that barely-there flush that makes nails look healthy. From there, press small torn pieces of gold transfer foil randomly across the nail while your topcoat is still wet.
The fragments don’t need to be uniform or symmetrica,l the organic scatter pattern is actually what makes it look high-end rather than craft-project. Finish with a glossy topcoat to seal the foil flat. Looks simple, but the effect is surprisingly elevated and this design is genuinely low-maintenance because chips just look like the foil shifted, not like polish is peeling.
Read More About : 19+ Cute Short Summer Nails Designs That Look Expensive on Stubby Fingers Too
Jet Black with Micro White Dots
Sometimes the most striking nail look is the most straightforward. Jet black nail polish glossy, fully opaque, no funny business as a base on short nails already looks sharp. But a row of three tiny white dots near the base of each nail, placed in a small triangle formation, adds a quiet geometric detail that changes the whole read.
The dots take a toothpick dipped in white nail art paint that’s it. The contrast against black is crisp and graphic, and the placement near the base keeps the detail subtle rather than overwhelming. This one works every single time without overthinking. It’s the kind of nail look that doesn’t trend because it never really goes away.
Pastel Lavender Ombre on Short Squoval Nails
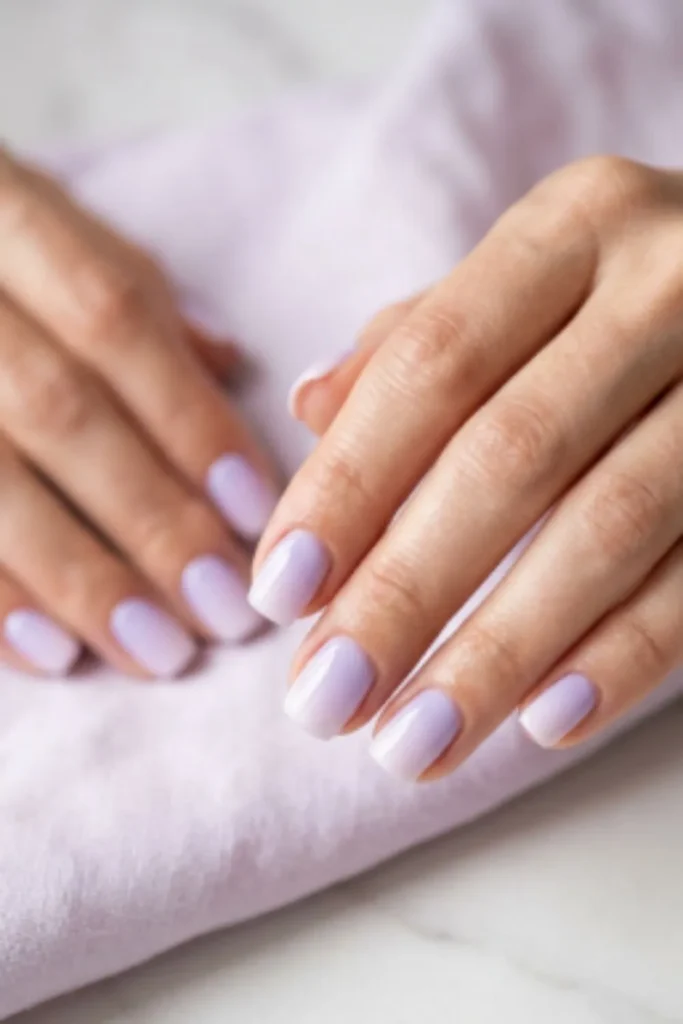
Who said ombre needs length? On short nails, a two-color ombre actually looks cleaner because there’s less distance for blending errors to show. A pale lavender fading into white at the tips on a squoval (square-oval) shape is one of those combinations that photographs beautifully and feels effortless to wear.
Apply your lavender base, let it dry, then use a makeup sponge to dab a slightly lighter lavender or white toward the tips, blending in a soft stippling motion. The transition on a short nail should be subtle you want a gradient, not a visible line. Clean up the edges with a small brush dipped in acetone. I’ve noticed this look tends to stay looking intentional even when nails grow out a little, because the gradient softens as it shifts and honestly reads fine for two extra weeks.
Read More About : 27+ Short Professional Nails That Look Polished, Put-Together, and Honestly Kind of Expensive
Forest Green with a Single Burnished Gold Geometric Line
A deep, saturated forest green is one of the most underused shades in DIY nail circles, and that’s a genuine shame because it’s richly versatile and flattering. Wear it alone and it’s sophisticated. Add a single diagonal or curved line in burnished gold nail art paint using a fine striping brush, and suddenly you’ve made actual nail art.
The geometric line can be a simple diagonal from one corner of the nail to the other, or a gentle arc. Keep it clean one line, not a pattern. The contrast between the deep green and the warm gold is the whole move here.
Most people skip this variation of geometric nails because they think a striping brush is hard to control, but three practice strokes on a piece of paper and you’ll have the pressure figured out.
Dusty Rose Creme with Lace-Effect Stamping
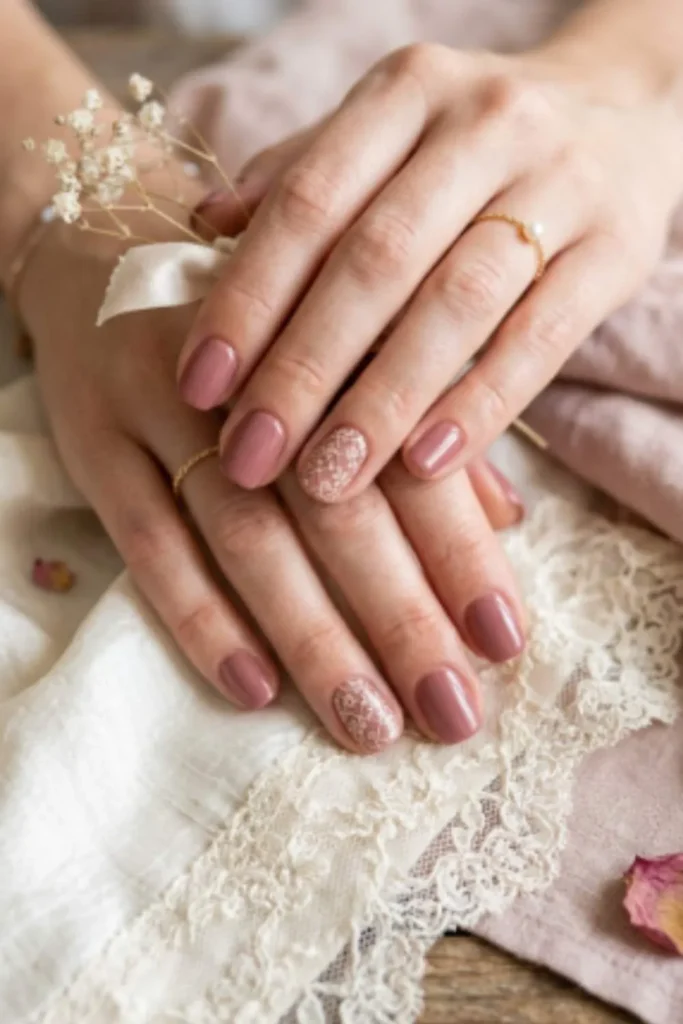
Stamping plates are one of the most slept-on tools in DIY nail art, and a lace effect is the most impressive return for the least amount of effort. A dusty rose creme base warm, soft, and adaptable gives lace-effect stamping a romantic, editorial quality that feels unexpected.
Apply your base, let it cure fully, then pick up a lace or floral lattice design from a nail stamping plate using a white or champagne stamping polish. Press the stamper onto the nail, roll slightly to transfer the design, and lift cleanly. The whole process takes under five minutes per hand once you know the motion. The dusty rose underneath showing through white lace gives the nail a layered, almost textile quality that nobody would guess was DIY.
Read More About : 13+ Simple Short Nude Color Nails That Never Look Boring or Washed Out
How to Choose the Right DIY Nail Look for Your Short Nails
Not all nail ideas translate equally well depending on your nail shape and what you want from your manicure. Here’s how to narrow it down.
If your nails are very short and round: Stick with full-coverage color, glazed effects, or thin french tips. These maximize perceived length and keep the nail looking neat. Avoid heavy nail art that extends past the nail edge.
If your nails are squoval or square: You have more flexibility. Geometric lines, negative space, and half-moon designs look especially sharp because the straight nail edge complements the structure.
If you want low maintenance: Glazed milk, sheer terracotta, or matte blue will all grow out gracefully without looking chippy or messy. These are the ones to reach for when you don’t have time for touch-ups.
If you want maximum impact with minimal tools: The black with white dots, the cherry half-moon, and the single gold line designs require very few supplies and deliver the most visual payoff per minute of effort.
Quick Comparison Guide
| Nail Idea | Skill Level | Vibe | Maintenance |
| Glazed Milk Nails | Beginner | Soft, minimal | Very low |
| Negative Space Half-Moon | Beginner–Intermediate | Bold, architectural | Low |
| Mocha with White Tips | Beginner | Warm, refined | Low |
| Matte Slate + Chrome Accent | Intermediate | Edgy, editorial | Medium |
| Sheer Terracotta + Tortoiseshell | Intermediate | Earthy, artistic | Medium |
| Chocolate Brown French | Intermediate | Rich, understated | Low |
| White with Daisy Art | Beginner | Fresh, playful | Low |
| Deep Plum Velvet | Intermediate | Moody, textured | Medium |
| Blush + Gold Foil | Beginner | Luxe, feminine | Very low |
| Jet Black with Micro Dots | Beginner | Graphic, clean | Low |
| Pastel Lavender Ombre | Intermediate | Dreamy, soft | Low |
| Forest Green + Gold Line | Intermediate | Rich, modern | Low |
| Dusty Rose Lace Stamping | Intermediate | Romantic, detailed | Medium |
Common Mistakes to Avoid with DIY Nails on Short Nails
Going too thick with nail art. On short nails, thick lines and large nail art designs overwhelm the nail bed. Scale everything down thinner lines, smaller dots, lighter foil pieces. The proportions matter more than on longer nails.
Skipping the basecoat. A basecoat isn’t optional. It prevents staining (especially with dark shades like plum and forest green), makes polish adhere better, and genuinely extends how long your DIY lasts. Two minutes upfront saves a week of chippy frustration.
Rushing dry time. Most DIY smudges happen in the 5-10 minutes after application when the polish looks dry but isn’t. Set a timer. A cool air blast from your hairdryer speeds things up without heat damage.
Over-correcting mistakes during application. If you smudge, don’t drag or rub, you’ll spread it. Let it dry, then remove the excess with a small brush dipped in acetone. One clean corrective swipe is better than trying to fix while wet.
Using old, thickened polish. Polish thickens with air exposure over time, and thick polish applies unevenly, bubbles, and chips faster. A few drops of nail polish thinner (not remover) bring it back. Don’t use acetone to thin polish, it breaks down the formula.
Read More About : 19+ Cute Short Summer Nails Designs That Look Expensive on Stubby Fingers Too
Key Takeaways
- Short nails don’t need length to look elevated, the right finish, proportion, and color palette do more work than size ever will.
- Basecoat and dry time are non-negotiable if you want your DIY manicure to last.
- Beginner-friendly finishes like glazed milk, sheer terracotta, and matte colors grow out gracefully ideal for low-maintenance routines.
- Scale nail art to fit the nail: thin lines, small dots, and minimal foil always read better on shorter lengths.
- Stamping plates and chrome powder are two DIY tools that produce salon-quality results with minimal practice time.
- One accent nail with detail often looks more intentional than all five restraint is a style choice.
Frequently asked Questions
What nail shapes work best for short nails when doing DIY nail art?
Squoval (square-oval) and rounded shapes are the most forgiving for DIY nail art on short nails. They provide a wide enough surface for small designs while keeping the overall look neat. Squoval edges especially complement geometric and french tip styles.
Can you do ombre nails at home without a UV lamp?
Yes, regular nail polish ombre works well without a UV lamp. Apply a base coat, add your base color, then use a makeup sponge to stipple the second shade toward the tips while the base is still slightly tacky. Finish with a glossy topcoat and clean up edges with acetone on a small brush.
How do I make my DIY manicure last longer on short nails?
Apply a base coat, use thin layers of polish (two to three thin coats last longer than one thick one), seal with a topcoat, and cap the free edge of each nail by swiping the topcoat along the tip. Reapply topcoat every two to three days to extend wear significantly.
What nail polish colors are most flattering on short nails?
Nudes, warm blush tones, deep monochromes (chocolate, plum, forest green), and sheer milky finishes all complement short nails well. Very light pastels and full-coverage brights work too, but scale art and detailing down to keep proportions balanced.
Is chrome nail powder safe to use without a gel lamp?
Chrome powder technically works best over a gel sticky layer (which requires curing), but you can get a serviceable effect by applying it over a regular polish topcoat while it’s still slightly tacky. It won’t be quite as intense as salon chrome but reads well in person and in photos.
What’s the difference between stamping polish and regular nail polish for nail art?
Stamping polish is thicker and more pigmented than regular nail polish, which is why it picks up design detail from stamping plates clearly. Regular polish is too thin and tends to dry before you can transfer the design. If you want to try stamping, it’s worth investing in at least one dedicated stamping polish, the difference in result is significant.
How do you do nail art on short nails without smudging?
The best practice: work on one nail at a time, let the base dry completely before adding detail, use a fine art brush rather than dragging, and keep a small brush dipped in acetone nearby for immediate cleanup. A quick-dry topcoat at the end locks everything in and dramatically reduces smudge risk.
Final Thoughts
Short nails don’t ask much of you and in return, they give you a canvas that’s easier to work with, faster to finish, and honestly more wearable day-to-day than you might expect. Whether you’re keeping it simple with glazed milk nails or going a little bolder with deep plum velvet texture, the point is the same: your nails, your rules, no appointment needed.
Pick one idea from this list and try it this weekend. You don’t need to nail it (sorry) perfectly on the first go half the fun of DIY is finding the techniques that click for you.
Save the ones that catch your eye, gather your supplies, and start with the simplest version. You’ll figure out your own shortcuts faster than you think, and the next one will be even better.
Unless otherwise noted, all images in this article are original content created and owned by @bella_elaris. Please do not reproduce, republish, or distribute these images without prior permission.